
Dark Parables: Return of the Salt Princess: Chapter 5 Sanctuary
Our Dark Parables: Return of the Salt Princess Walkthrough includes simple instructions & colorful screen grabs to help you along in this challenging hidden objects game!
General Tips & Information
Chapter 1 Welcome
Chapter 2 Mine
Chapter 3 Waterway
Chapter 4 Salon
Chapter 5 Sanctuary
Chapter 6 Underground
Ask for help in the comments below!
Chapter 1 Welcome
Chapter 2 Mine
Chapter 3 Waterway
Chapter 4 Salon
Chapter 5 Sanctuary
Chapter 6 Underground
Ask for help in the comments below!
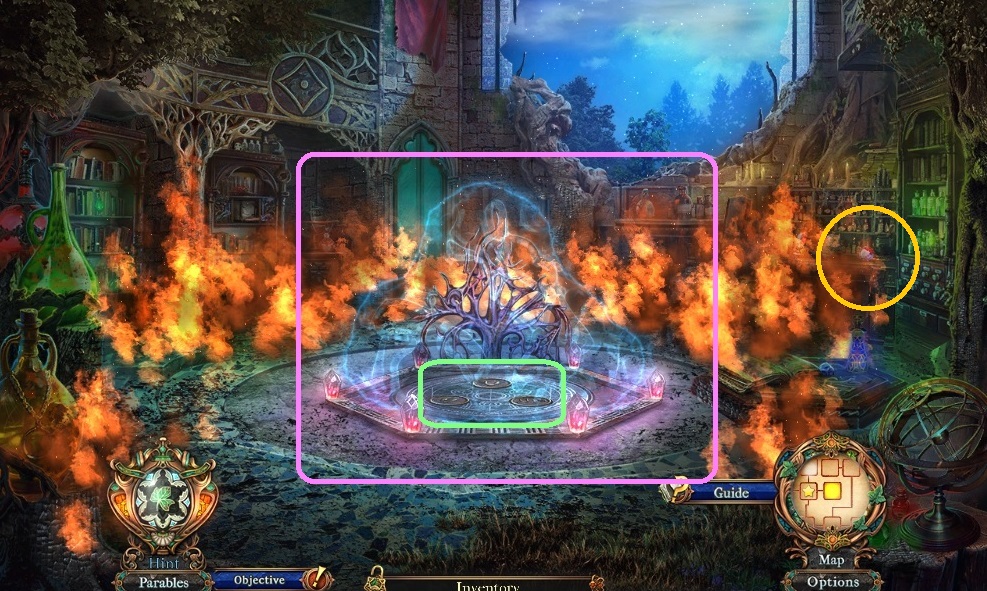
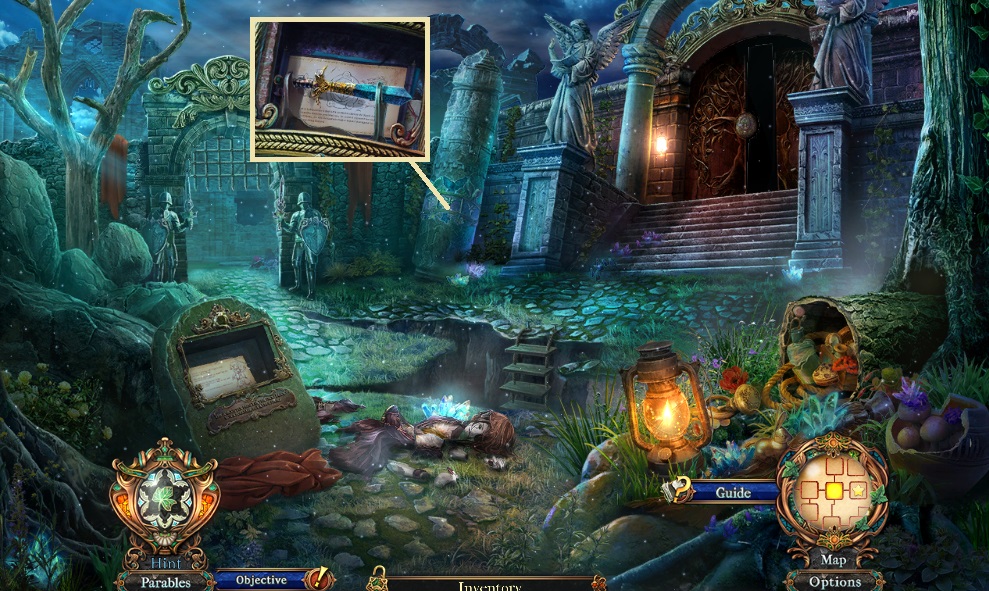
- Place the Periapt of thunder, flight & lightning.
- Collect the stone cameo.
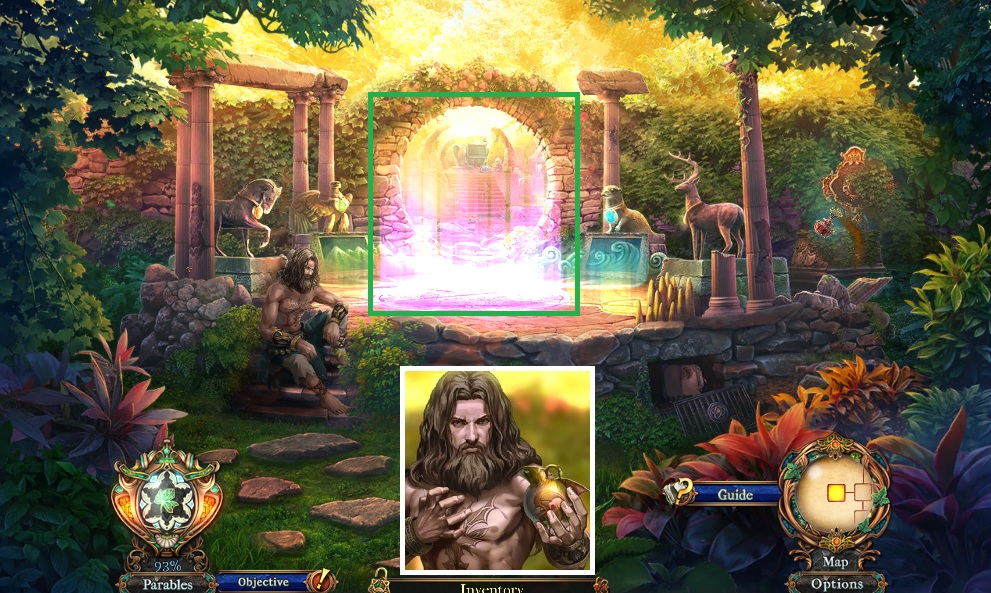
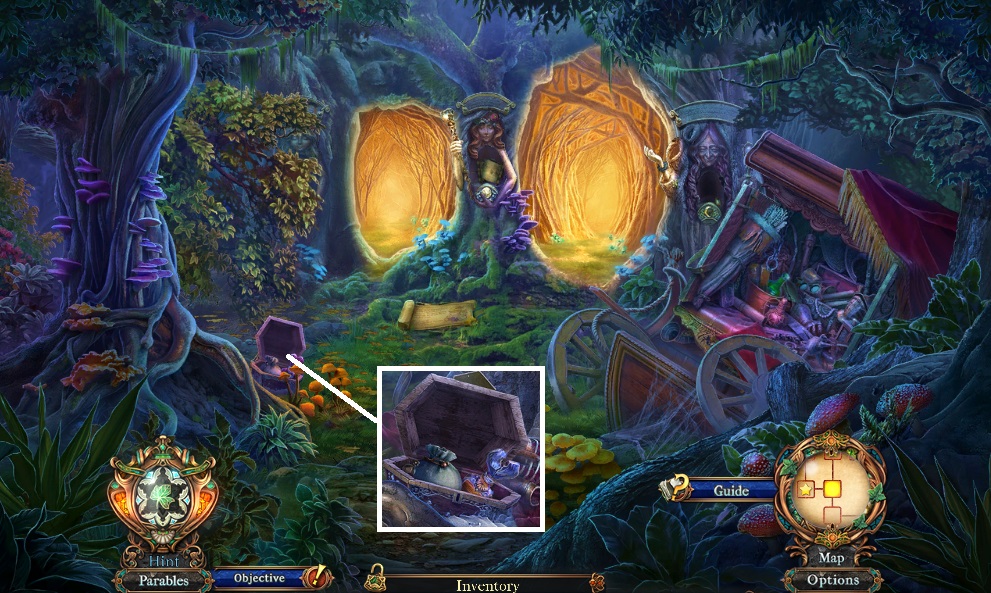
- Move into the Portal.
- Click the scene.
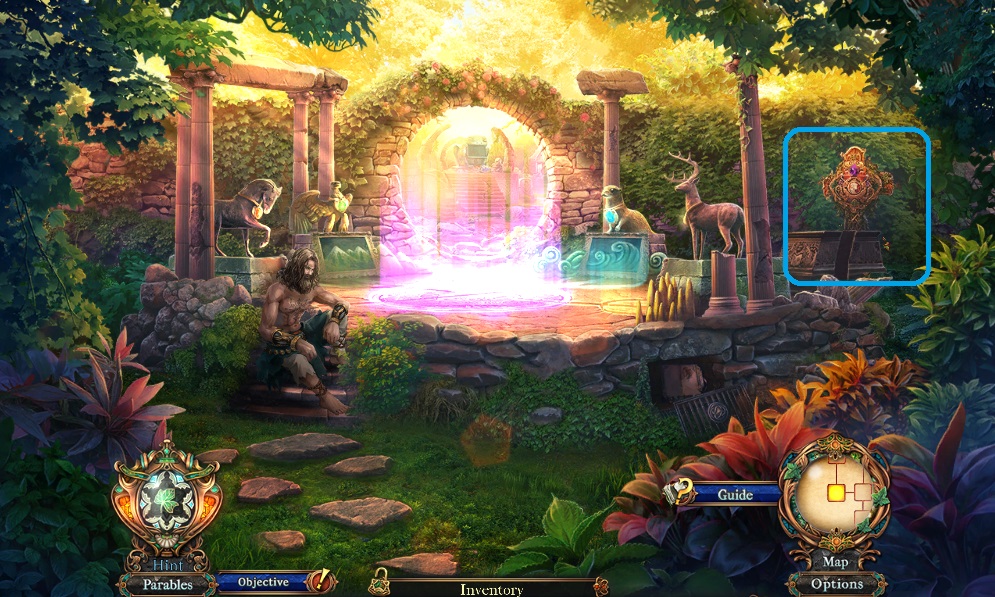
- Collect the Asclepius rod key.
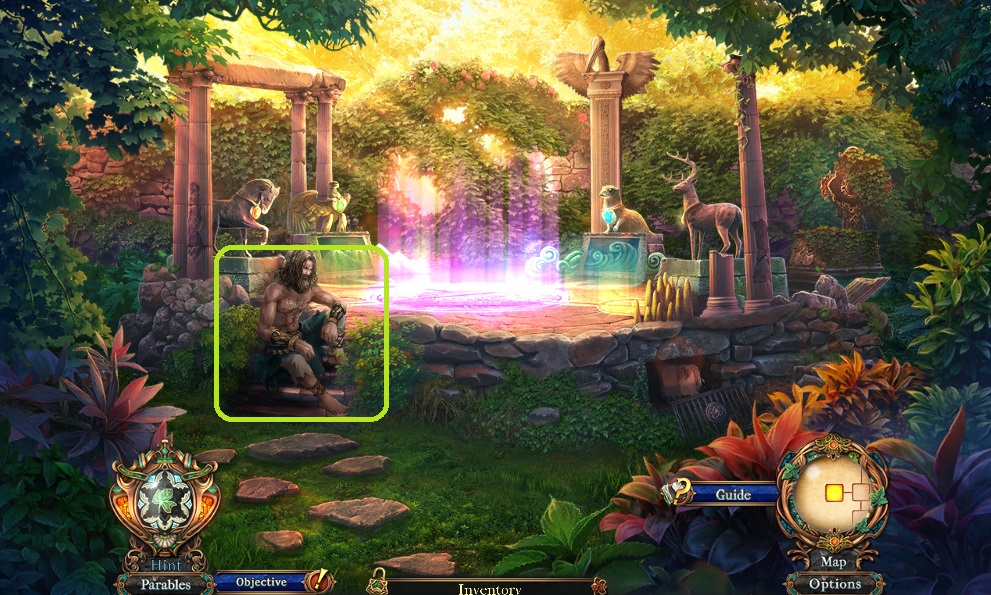
- Speak to the man.
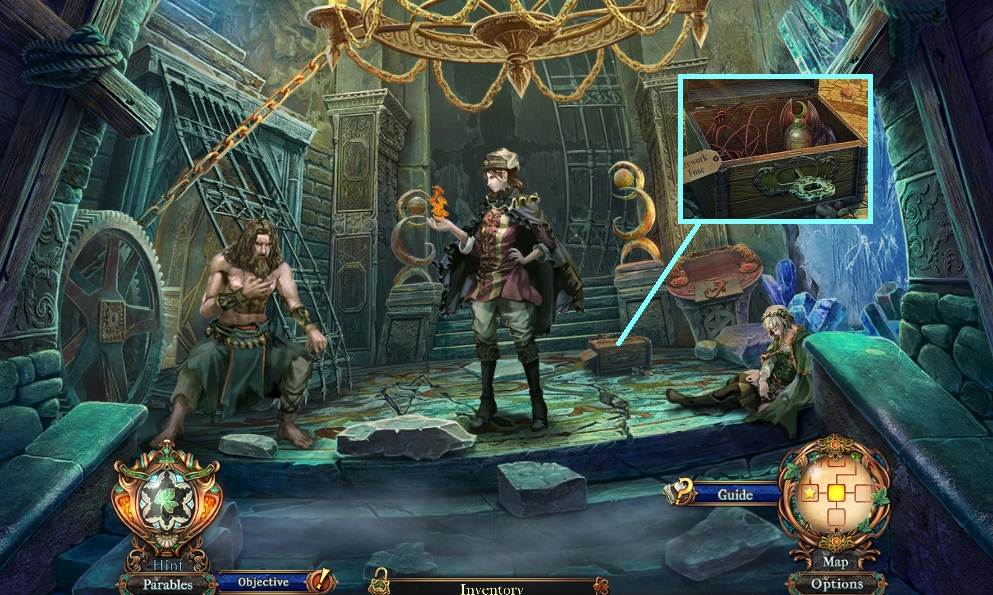
- Move to the Dragon Fort.
- Insert the Asclepius rod key – collect the healing draught and frog knob.
- Examine the note.
- Move down once.
- Attach the frog knob – collect the female wood carving & withering liquid.
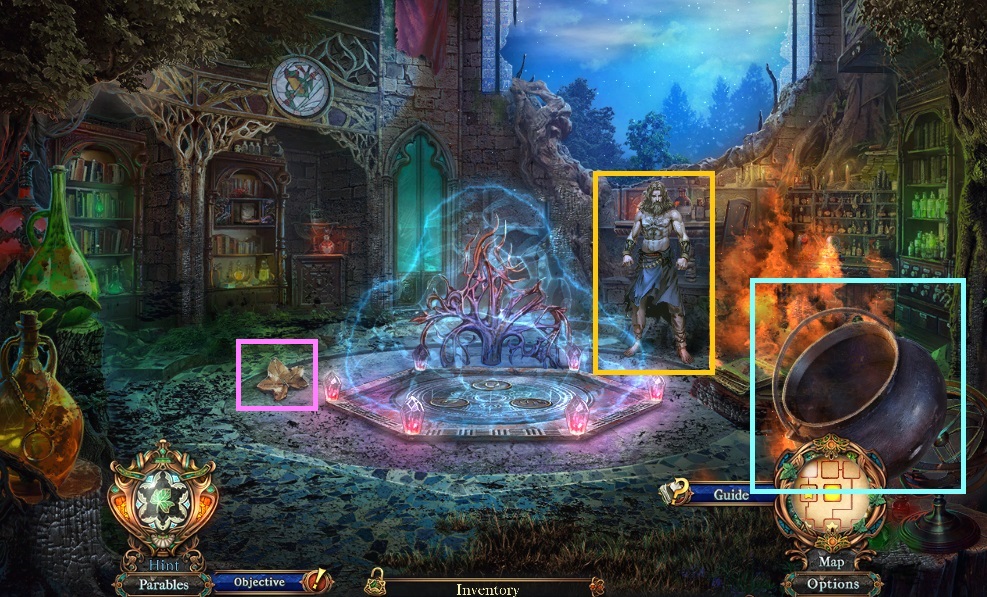
- Move to the Stone Sanctuary.
- Select the healing draught to give the man – collect the vial of dragon blood.
- Speak to him.
- Select the withering liquid.
- Move ahead.

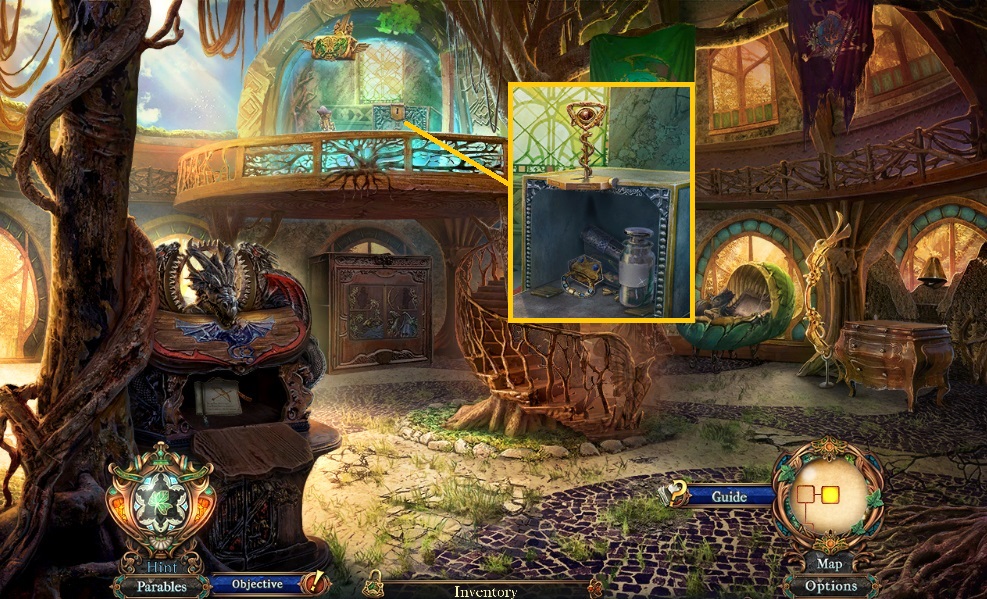
- Collect the male wood carving, Croix key & embossed land art.
- Examine the note.
- Move to Solwood.
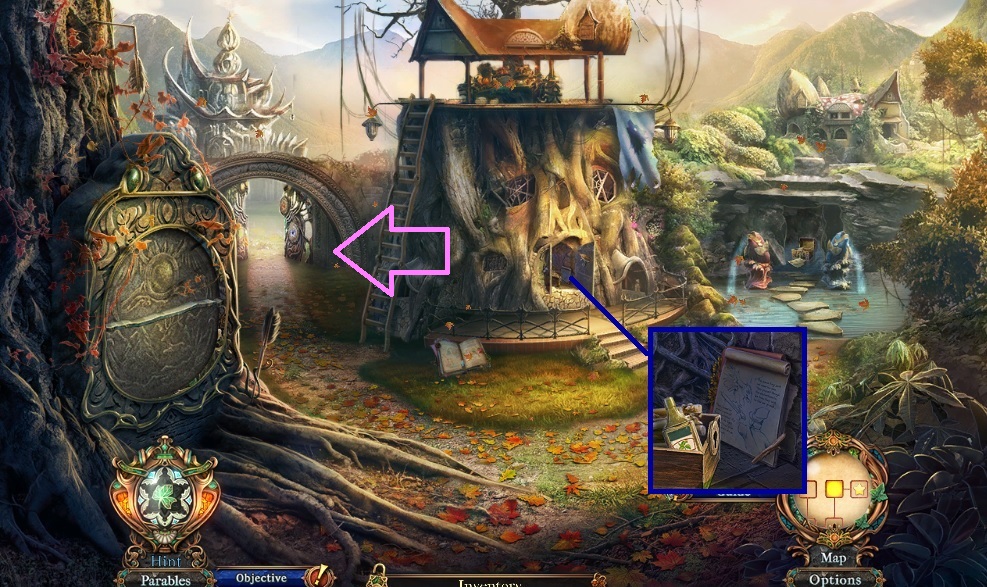
- Insert the Croix key – collect the peppermint extract & rope ladder.
- Move to the left.
- Place the male & female wood carving – collect the pick axe & obsidian lotus.
- Examine the note & picture.
- Move to the Shrine.
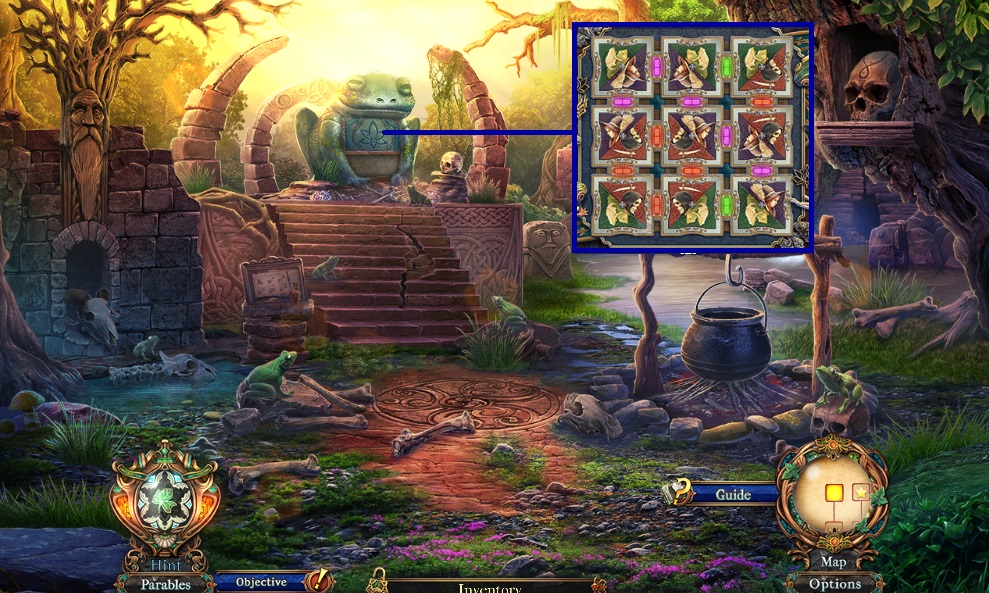
- Place the obsidian lotus to trigger a mini game.
- Solve the game by arranging the cards correctly.
- Collect the snowflake gem & bronze key
- Examine the note.
- Move to the Sacred Grove & click the hidden objects area.
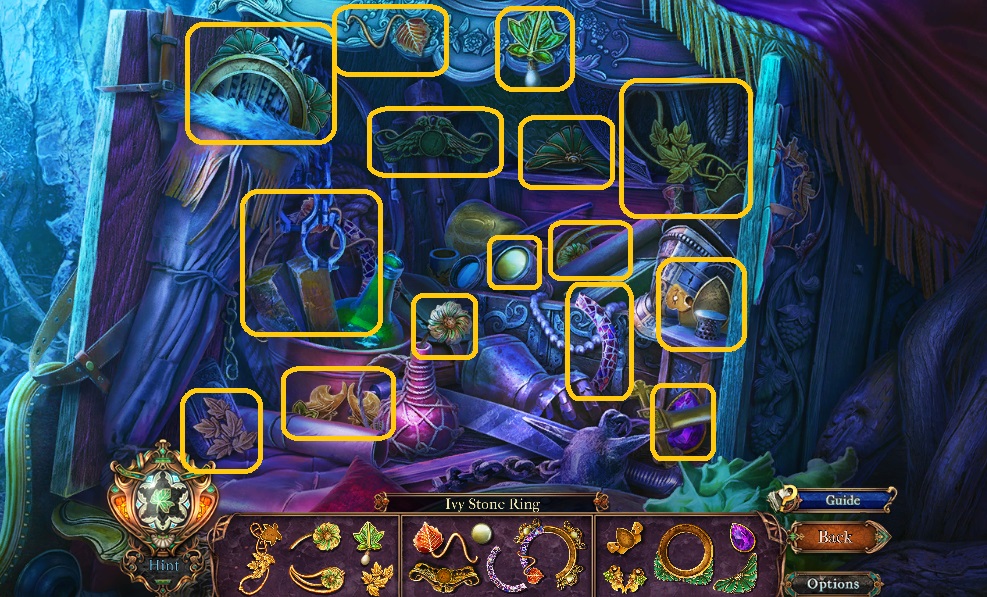
- Find the items.
- Collect the ivy stone ring.
- Place the snowflake gem – collect the snow fairy dust & potion of hate.
- Move to the far right cave.
- Place the stone cameo & ivy stone ring – collect the moon drops & embossed sky art.
- Move to Solwood.

- Place the embossed land art & sky art to trigger a mini game.
- Solve the game by arranging the animals correctly.
- Collect the mercury symbol & flint.
- Examine the note & move to the Shrine.
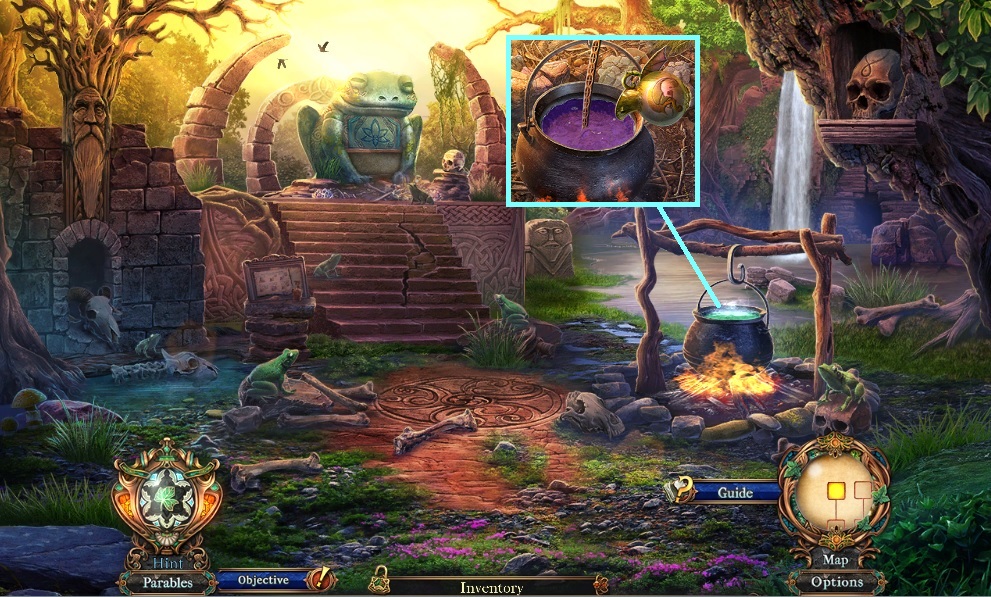
- Use the flint.
- Place the peppermint extract, moon drops, snow fairy dust & stir using the wooden spoon.
- Add the vial of dragon blood – collect the flame extinguishing potion.
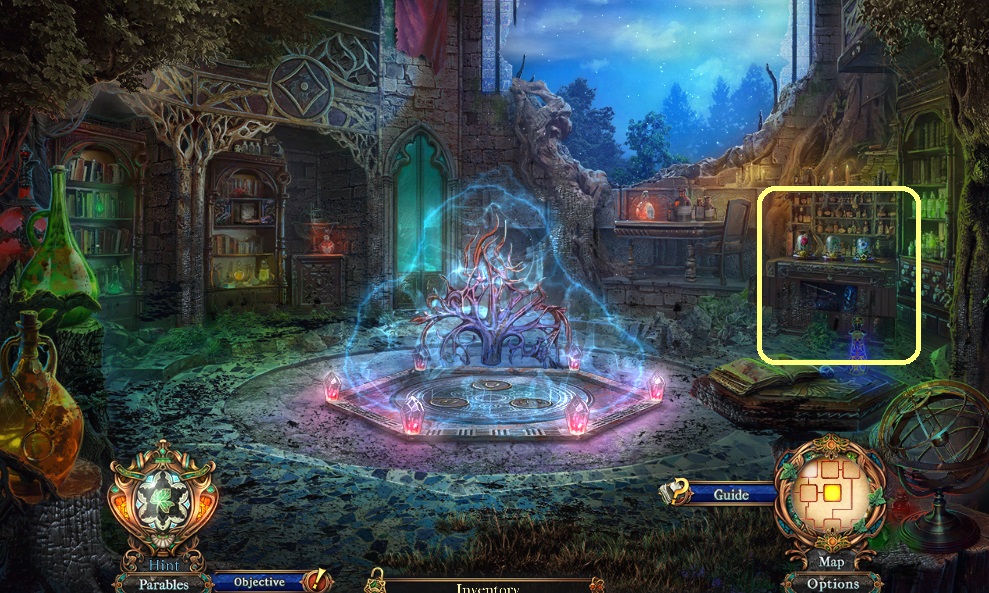
- Move to the Alchemist Library.
- Use the flame extinguishing potion.
- Speak to the man.
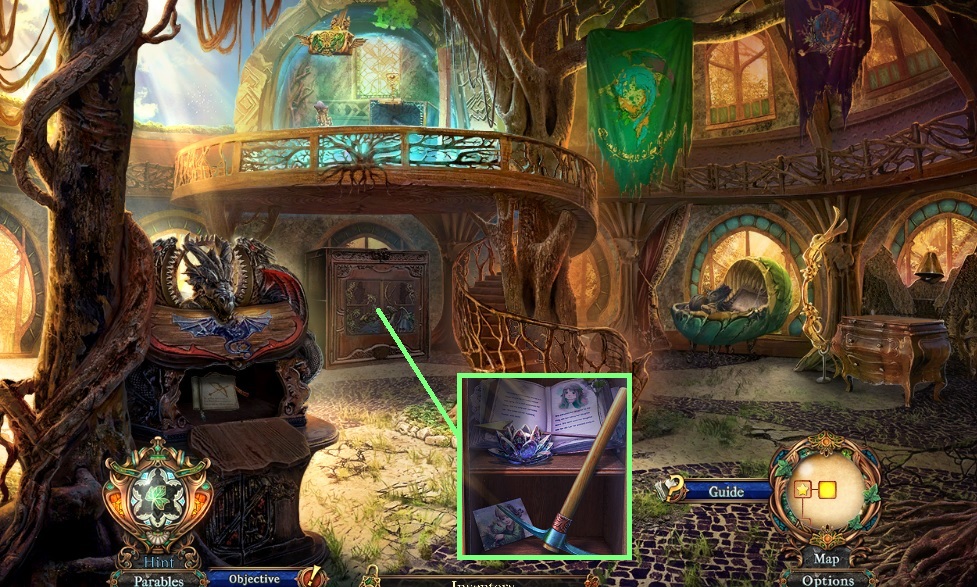
- Collect the engraved leaf tile.
- Move down once speak to Serafina & click the hidden objects area.
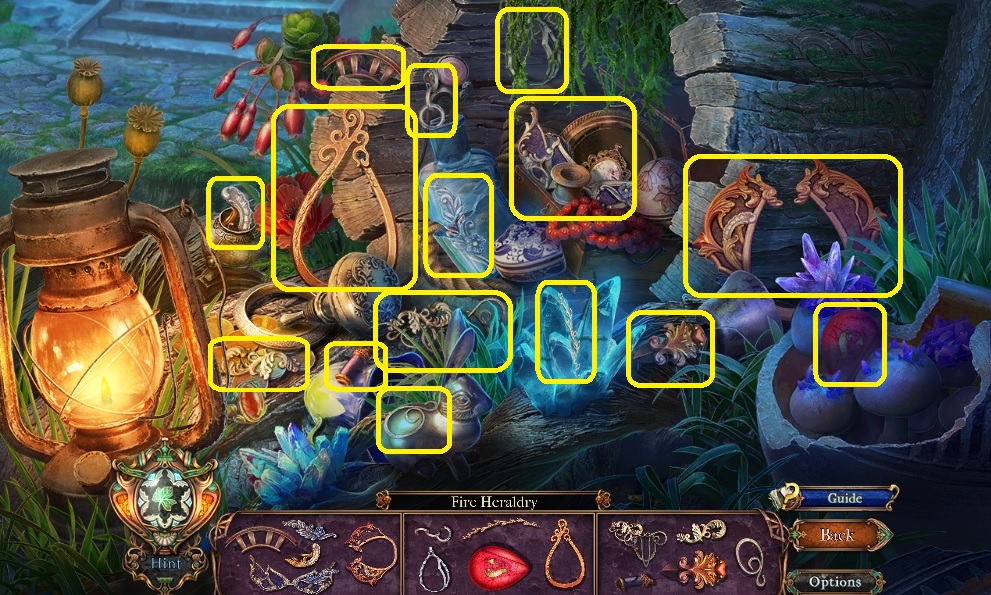
- Find the items.
- Collect the fir heraldry.
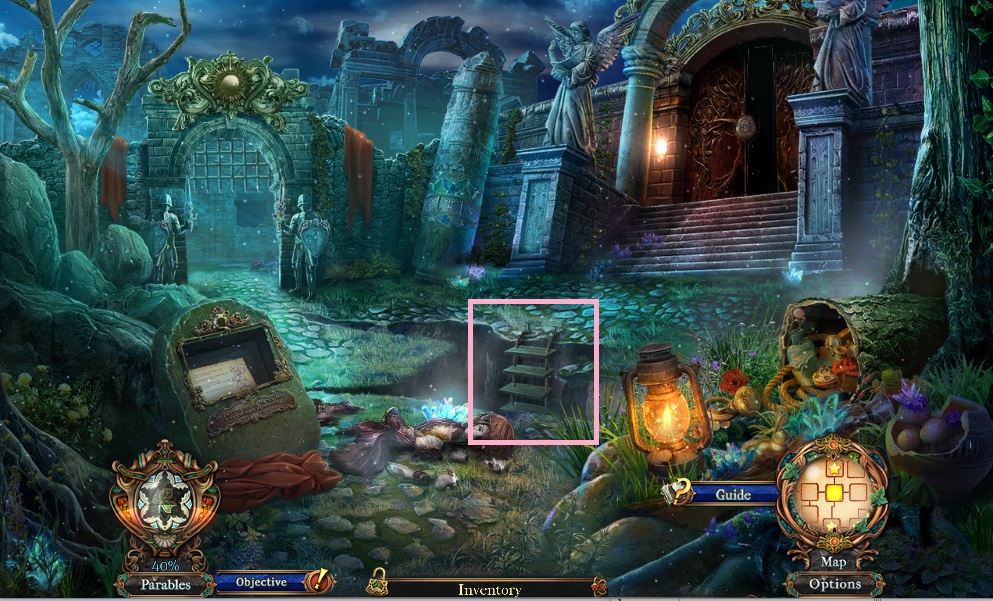
- Place the rope ladder.
- Move down & use the pick axe to trigger a hidden objects area.
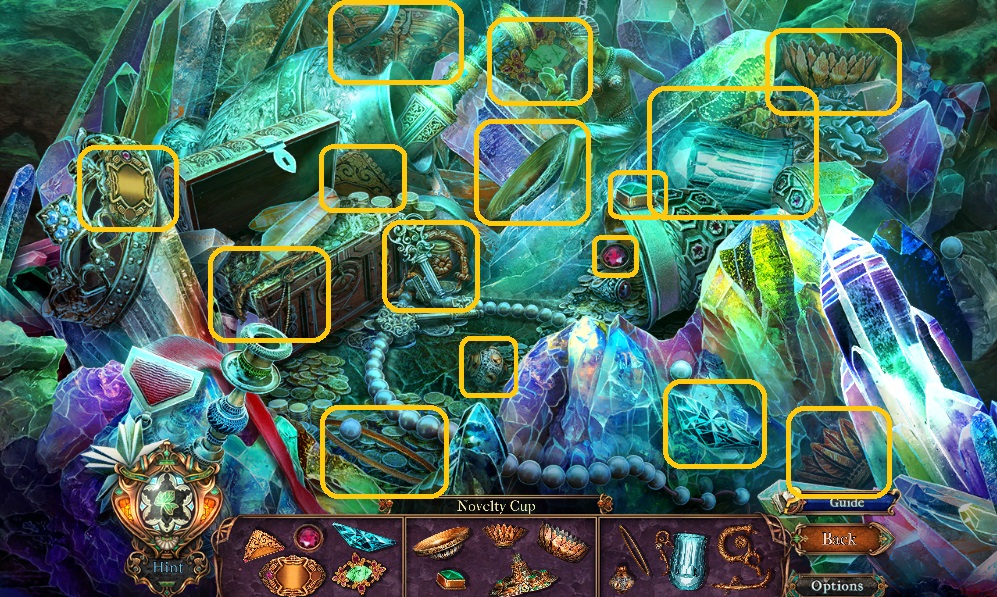
- Find the items.
- Collect the novelty cup.
- Move to the right up the stairs.
- Speak to Serafina – 2x’s.
- Place the bronze key – collect the potion of nightmares & salt symbol.
- Speak to the man.
- Move to the Smelting Chamber & click the hidden objects area.
- Find the items.
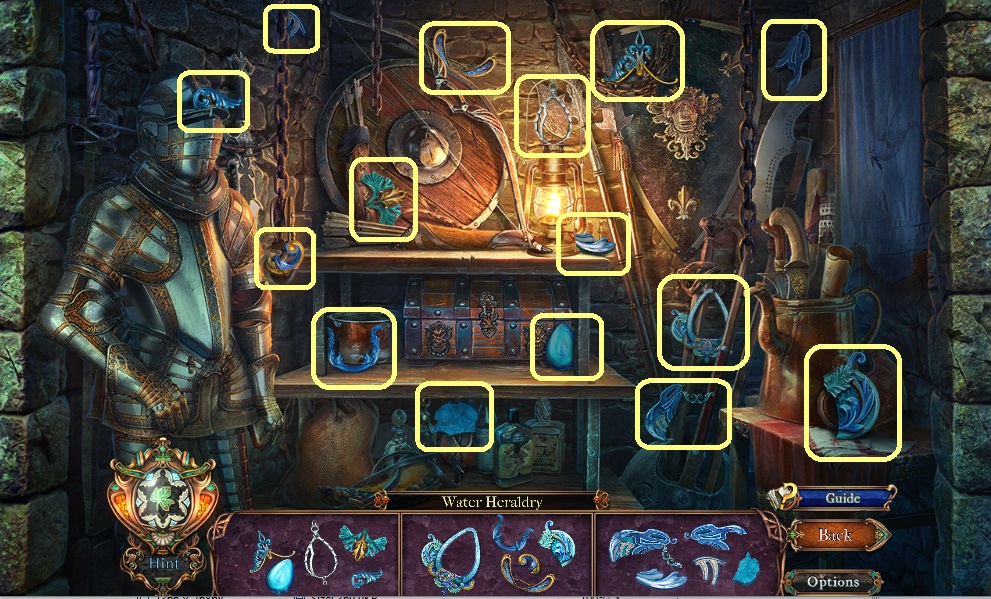
- Collect the water heraldry.
- Place the fire heraldry – collect the sulfur symbol & novelty coin.
- Examine the note.
- Move to the Caverns.
- Place the water heraldry – collect the potion despair.
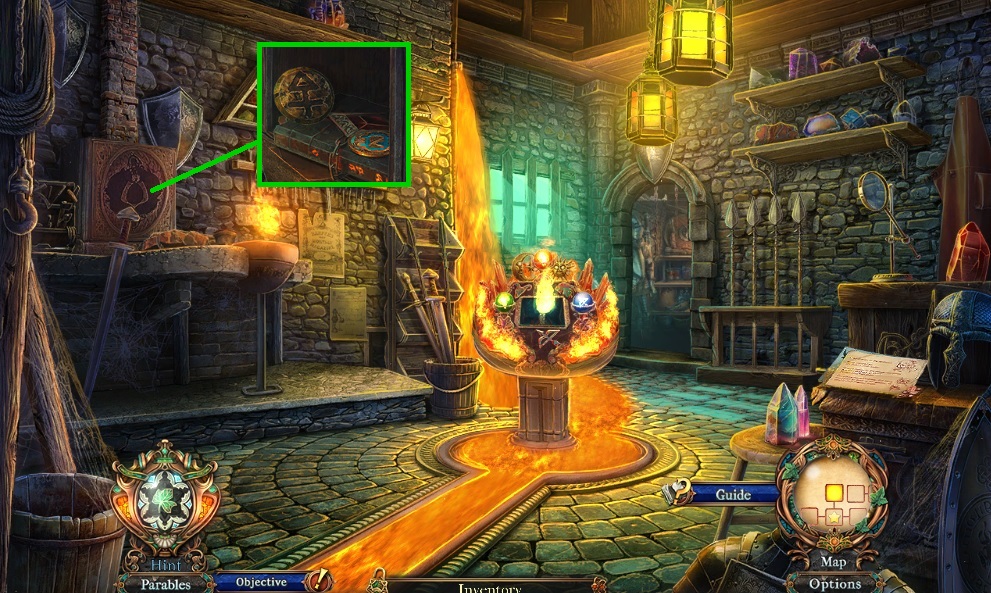
- Place the mercury – salt & Sulphur symbols.
- Move ahead.

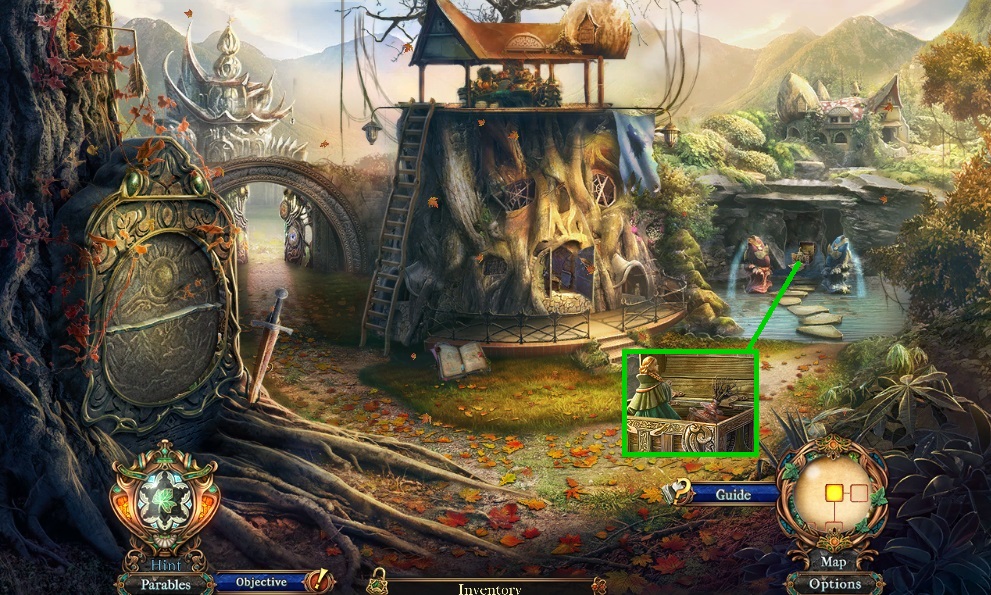
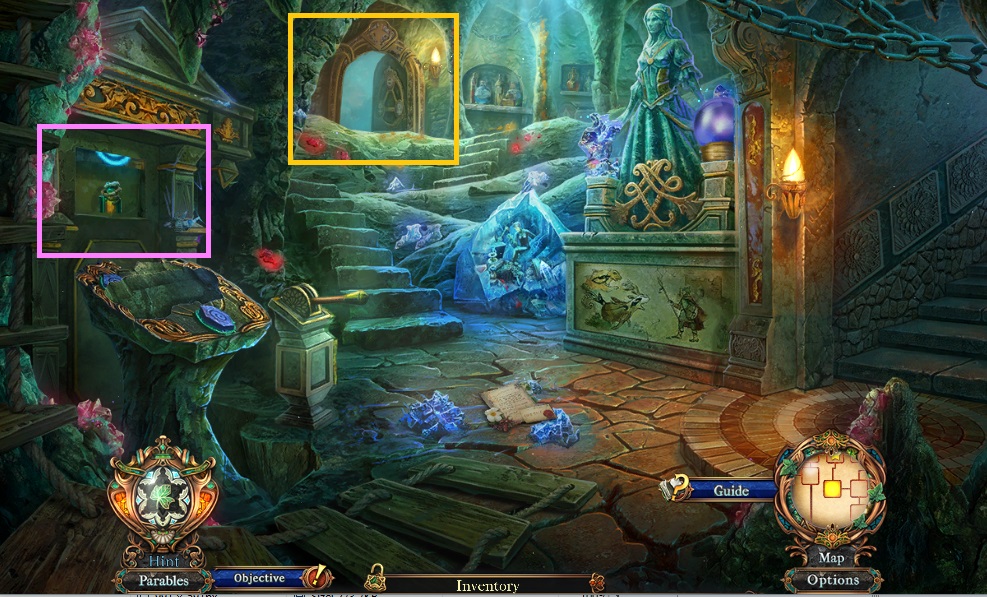
- Collect the guardian sculpture & moon flower jar.
- Examine the note & card.
- Place the potions of hate & despair & nightmares.
- Collect the engraved hawk tile & solar sigil.
- Move to the Outer Wall.
- Place the engraved leaf & hawk tiles – collect the novelty sword.
- Examine the note.
- Move to the Alchemist Library.
- Place the moon flower jar – collect the novelty wand & happy face mask.
- Move to the Arcane Laboratory.
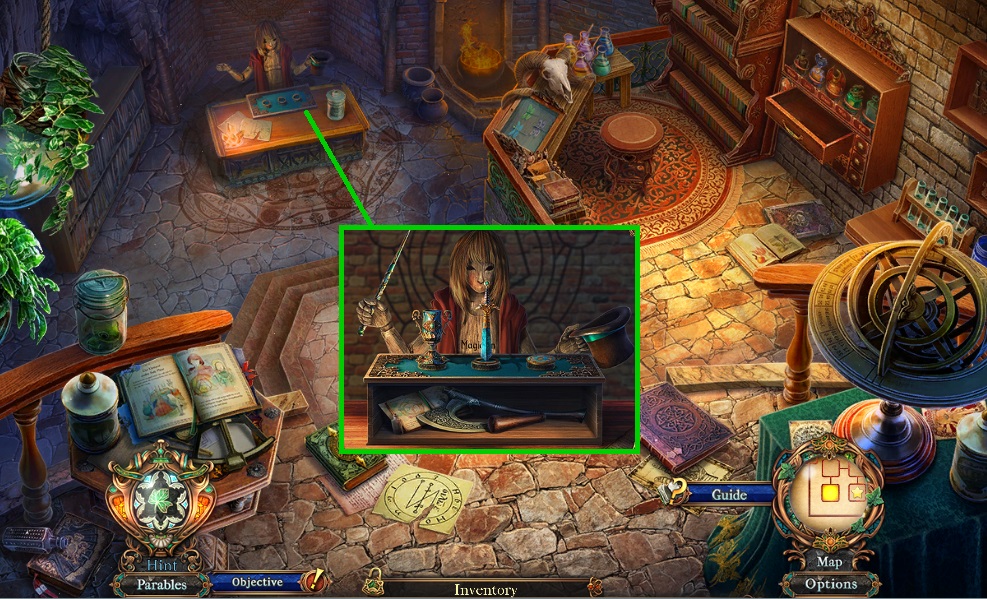
- Place the novelty cup, coin, sword & wand.
- Collect the axe & pestle.
- Examine the note.
- Move to the Salt Mine &
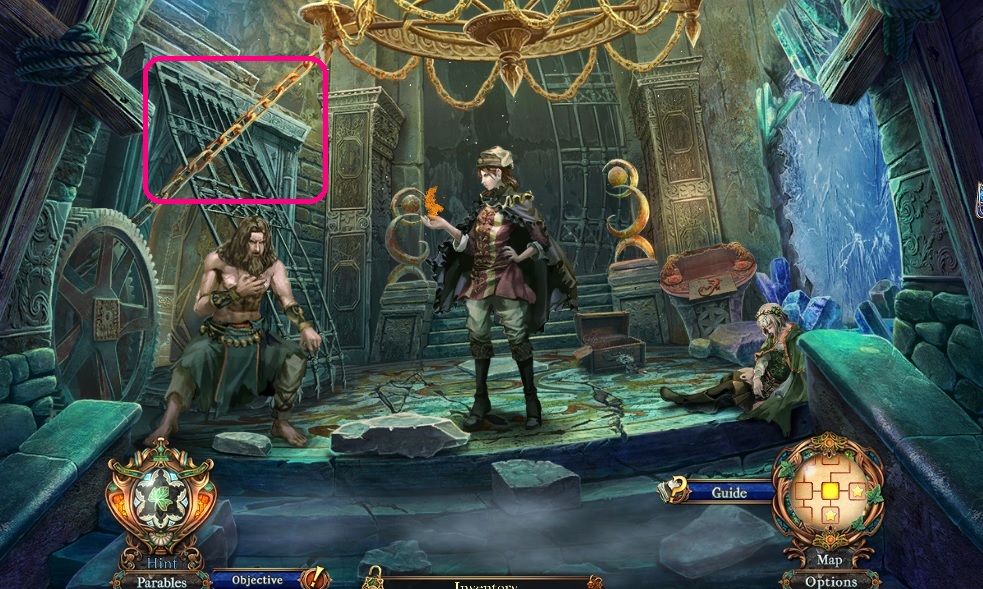
- Use the axe on the chain.
General Tips & Information
Chapter 1 Welcome
Chapter 2 Mine
Chapter 3 Waterway
Chapter 4 Salon
Chapter 5 Sanctuary
Chapter 6 Underground
Ask for help in the comments below!
Chapter 1 Welcome
Chapter 2 Mine
Chapter 3 Waterway
Chapter 4 Salon
Chapter 5 Sanctuary
Chapter 6 Underground
Ask for help in the comments below!